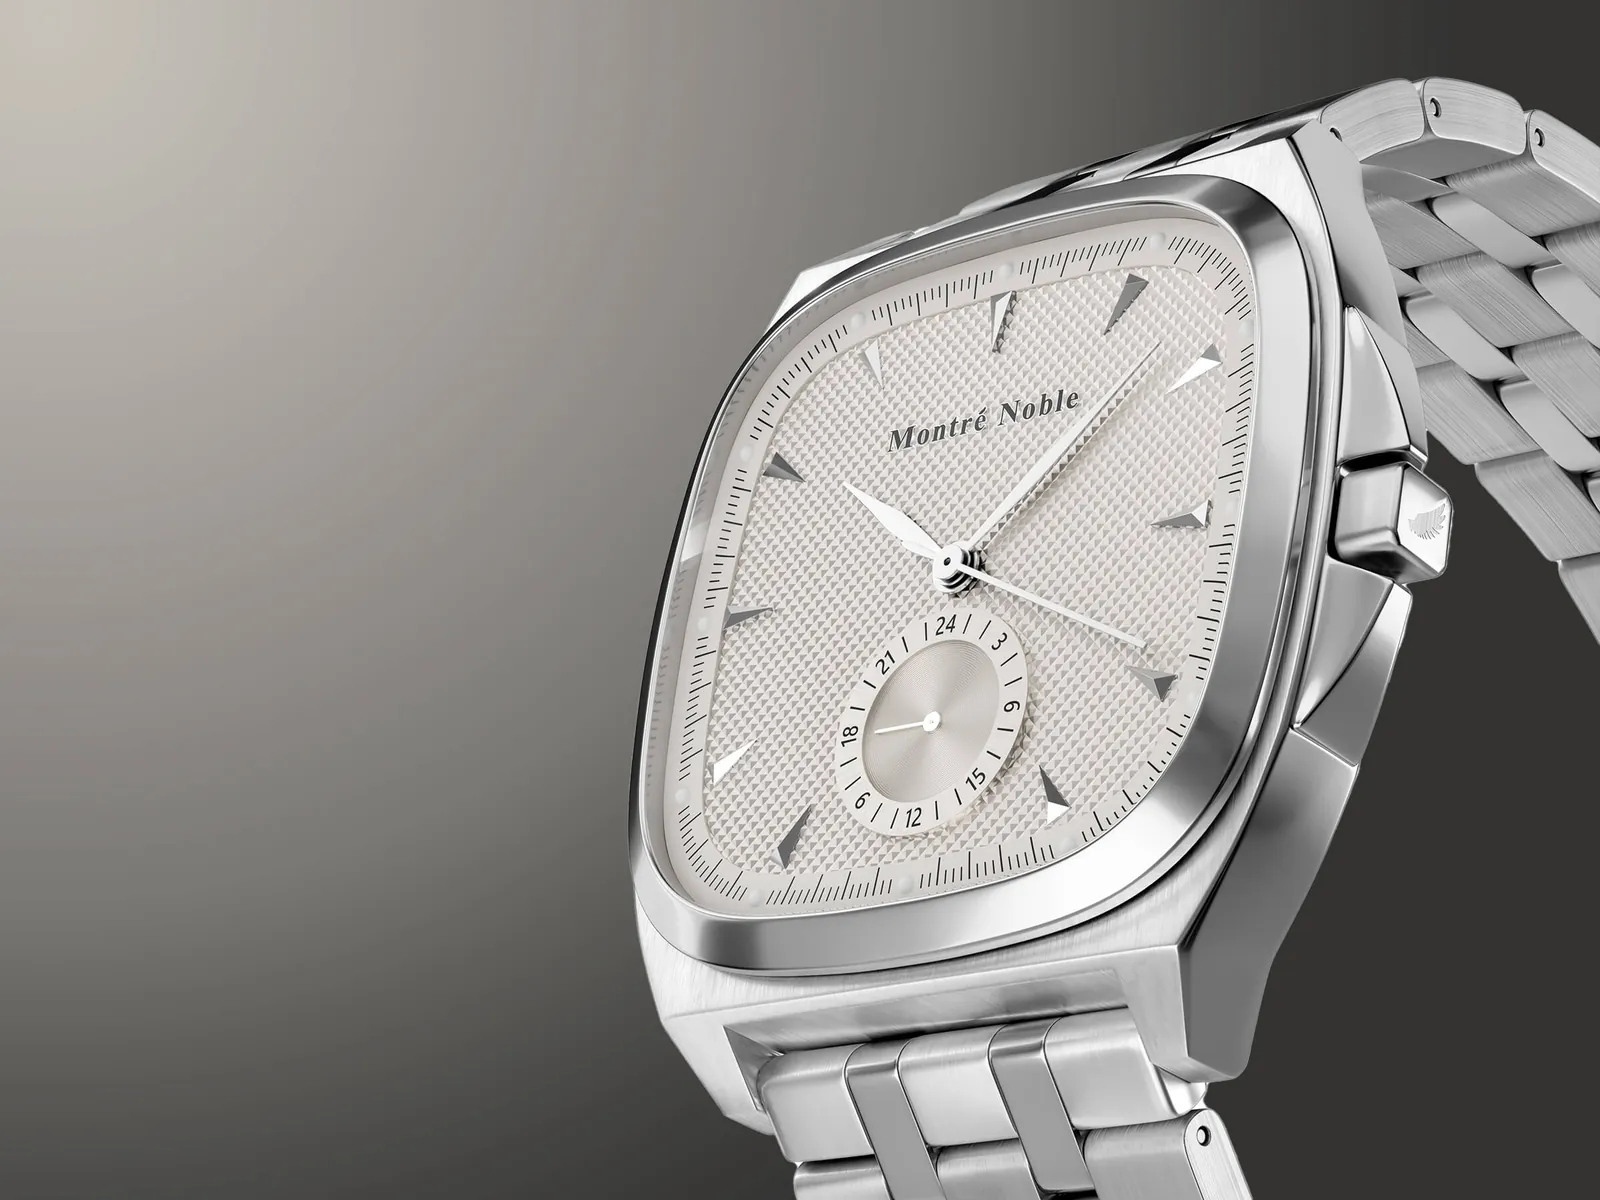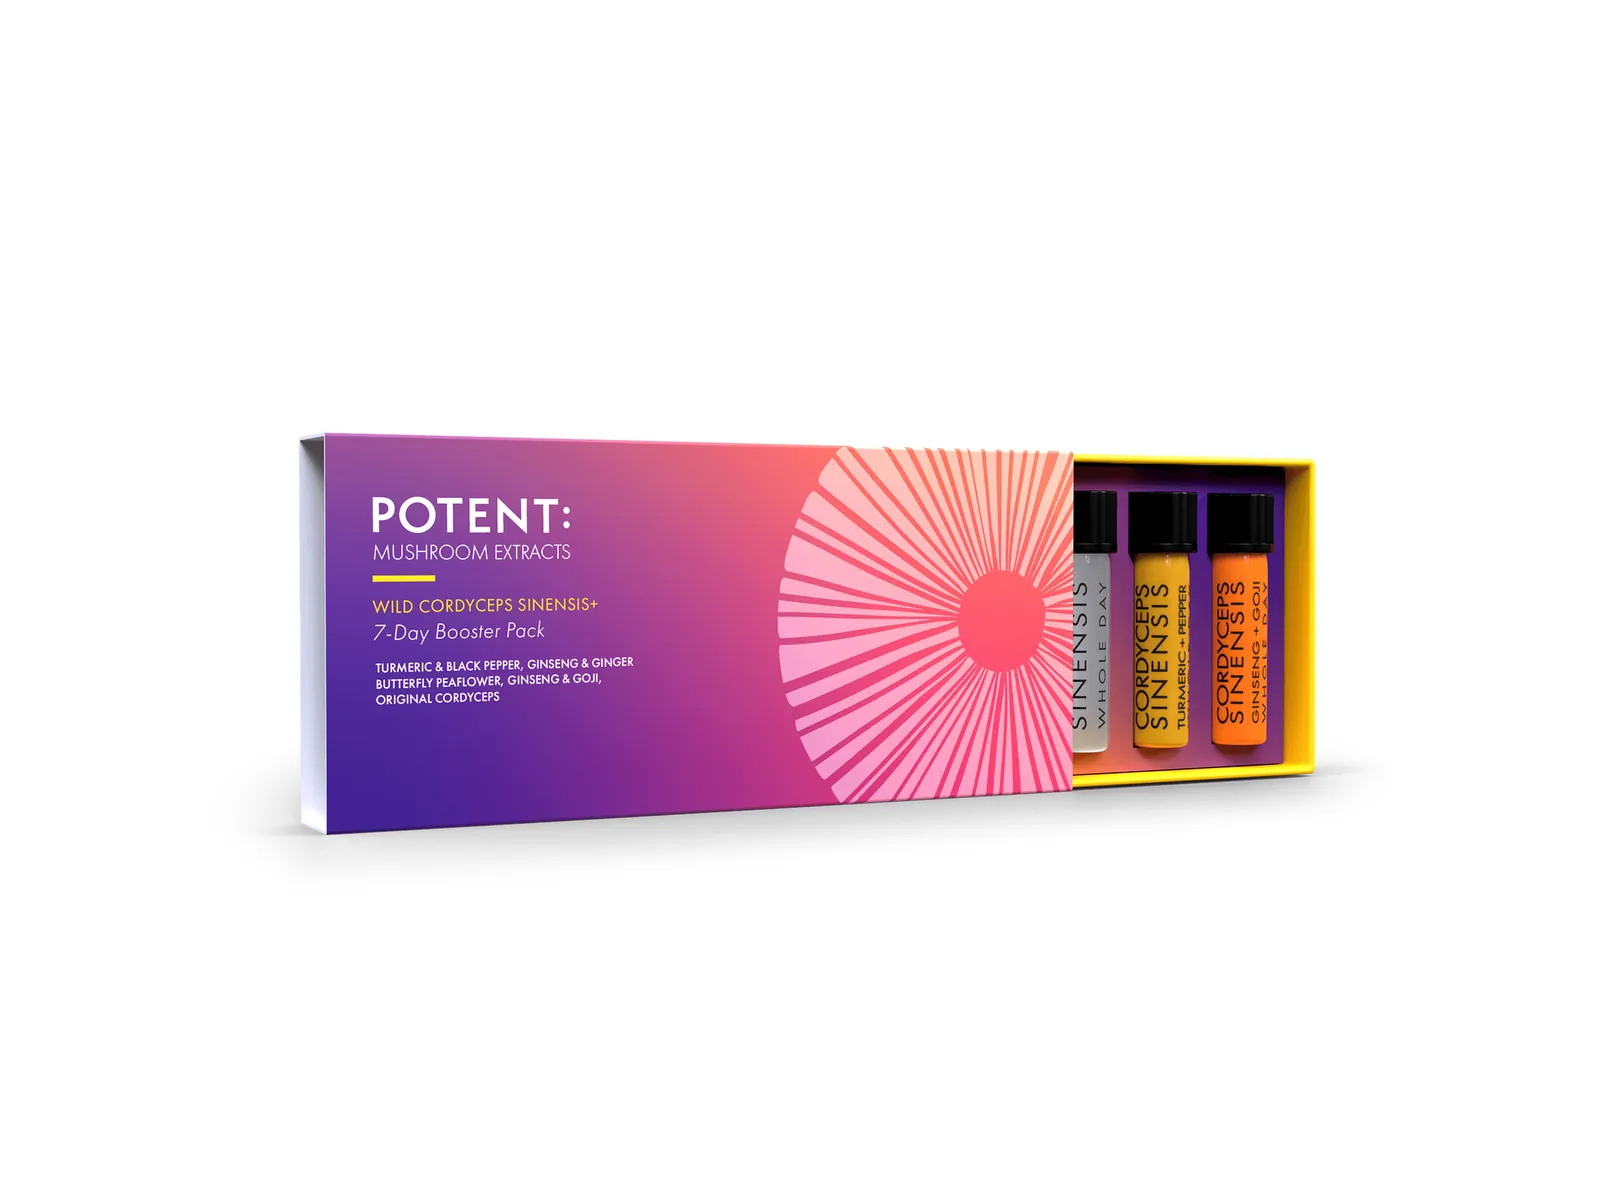
CAD to photorealistic 3D rendering converts engineering NURBS files (.STEP, .IGES, .SLDPRT, .F3D) or 2D blueprints into 4K commercial product photography 8 to 12 weeks before physical injection molding or CNC tooling finishes. While raw CAD viewport exports look flat and plastic due to zero-radius mathematical edges and uniform shading, 3diz Studio re-tessellates CAD geometry, adds 0.15mm micro-bevels, applies physically based rendering (PBR) surface imperfections, and lights products inside custom HDRI studio stages—delivering Single Hero SKUs for $195 and complete 7-Image Launch Kits for $490 in 3–5 business days.
Every hardware founder, industrial designer, and kitchen appliance brand hits the exact same wall during product development. Your mechanical engineer signs off on the final Design for Manufacturing (DFM) assembly in SolidWorks or Fusion 360. You wire the 30% mold deposit to your factory. And then you are stuck in a 90-day visual vacuum.
While your steel injection molds are being EDM-machined overseas, your marketing team needs 4K hero imagery for your Shopify pre-order page, your Amazon Seller Central listing, your Kickstarter campaign, or your retail buyer pitch deck for Target and Best Buy. If you wait for the first T1 off-tool physical sample to arrive via DHL, and then book a traditional commercial photographer, you lose an entire quarter of revenue momentum. Worse yet, T1 engineering samples almost always arrive with sink marks, wrong Pantone housing plastics, or temporary 3D-printed bezels that require expensive post-production retouching anyway.
Over the past several years directing industrial and consumer hardware visualization at 3diz Studio, I have helped dozens of brands turn raw engineering files directly into cinema-grade launch visuals—weeks before a single physical unit rolls off the assembly line. In this technical guide, I will walk you through why standard CAD exports fail to convert shoppers, how our studio transforms rigid engineering files into tactile product photography, and how to execute a pre-manufacturing product launch without a physical prototype.
Why Raw CAD Renders Fail in Marketing (The "KeyShot Viewport Trap")
When I first speak with a hardware founder or product manager, they often tell me: "Ferdaus, our mechanical engineer already clicked 'Render' inside SolidWorks Visualize or default KeyShot, and it looks like a late-1990s video game. Why does it look so fake when the CAD dimensions are 100% accurate to 0.01 millimeters?"
The answer comes down to a fundamental philosophical divide between Manufacturing Geometry (CAD) and Optical Physics (CGI). A mechanical engineer models a part so a 5-axis CNC mill or an injection molding tool knows exactly where steel meets plastic. A CGI lighting director builds a surface so virtual photons scatter, refract, and reflect off microscopic imperfections exactly like they do through a 90mm tilt-shift macro lens.
Specifically, there are four technical reasons why raw CAD viewport exports fail in eCommerce and advertising—and how we solve them at 3diz Studio:
1. The Zero-Radius Edge Problem (Missing Specular Rim Highlights)
In SolidWorks, Rhino, or Inventor, unless an engineer explicitly adds a mechanical fillet for stress relief, two intersecting planes meet at an absolute, mathematically infinite 90-degree angle. In the physical universe, no manufactured object has a zero-radius edge. Even CNC-machined anodized aluminum or stamped stainless steel has a microscopic 0.08mm to 0.25mm edge rounding caused by tumbling, deburring, or mold wear.
Why does that tiny fraction of a millimeter matter? Because in studio photography, edges catch the rim light. Without a micro-bevel, light hits one flat face of your CAD model and stops dead at the corner, making the product look like a flat paper cutout pasted onto a background. In our pipeline, we apply procedural micro-bevel shaders and controlled chamfering calibrated to the exact material gauge—so every seam, button recess, and housing parting line catches a razor-thin, believable specular highlight.
2. Bad NURBS-to-Polygon Tessellation (Jagged Cylinders & Shading Artifacts)
Engineering software stores geometry as NURBS (Non-Uniform Rational B-Splines)—pure mathematical equations defining curves. Ray-tracing render engines, however, calculate light across polygon meshes. When an engineer exports a default .STL or low-tolerance .OBJ from CAD, circular dials, curved borosilicate glass carafes, and ergonomic handles get chopped into long, skinny, uneven triangles.
When you apply a glossy metallic or clear glass shader to a poorly tessellated CAD mesh, reflections warp into weird diagonal streaks (known as vertex normal pinching), and the outer silhouette looks like a stop sign instead of a smooth curve. By ingesting native .STEP or .IGES NURBS data, we control the chord-height and angular tessellation tolerances manually—generating dense, isotropic quad-dominant topology on hero curvature while keeping flat structural planes lightweight.
3. Uniform Mathematical Shaders vs. Micro-Roughness Maps
Default CAD material libraries apply a single uniform roughness value across an entire part—for example, "Matte Black ABS Plastic = Roughness 0.40." When your brain sees a surface where every single pixel reflects light identically, it immediately flags the image as computer-generated.
Real injection-molded plastics use specific VDI 3400 or Mold-Tech surface standards (like MT-11010 fine EDM spark texture). Real brushed stainless steel has microscopic directional grooves (anisotropy) that stretch highlights horizontally across a kettle or chiller casing. Real anodized aluminum has subtle variation in its oxide layer. At 3diz Studio, we build multi-layered Physically Based Rendering (PBR) node networks combining 8K micro-scratch maps, subtle mold-flow normal maps, and Fresnel-accurate clearcoat layers.
4. Flat Dome Lighting vs. Studio Scrims, Flags & Rim Lights
Most engineers drop their CAD model into a default 360-degree outdoor or generic office HDRI environment dome and hit render. That floods the product with omnidirectional light, killing contrast and washing out dark plastics into muddy gray. We light 3D hardware inside a virtual darkroom—placing diffused overhead softboxes, gradient acrylic scrims to sculpt smooth transitions across curved enclosures, and negative-fill black flags to carve out deep, authoritative shadows.
Inside Our 5-Stage CAD-to-Photorealistic CGI Pipeline
To give you total transparency into how we work when you hand over your engineering files, here is the exact five-step technical workflow every hardware project goes through inside 3diz Studio:
NDA Execution & CAD Assembly Audit (Day 1)
We sign your mutual NDA and inspect your .STEP, .IGES, or SolidWorks pack-and-go assembly. We strip unnecessary internal fasteners or hidden PCB traces to optimize scene memory while preserving every external seam, gasket, LED pipe, and port—or keeping full internal sub-assemblies if we are rendering an exploded view.
Precision NURBS Tessellation & Retopology (Day 1–2)
We convert mathematical NURBS patches into high-density, artifact-free render meshes. We heal open manifold edges, align surface normals, and UV-unwrap every component that requires laser-etched serial numbers, silk-screened UI icons, safety compliance labels, or woven fabric textures.
CMFP (Color, Material, Finish & Print) Calibration (Day 2–3)
Using your CMF specification sheet, Pantone/RAL codes, or reference photos of material swatches, we author custom physically based shaders: borosilicate glass (IOR 1.47), polycarbonate lenses (IOR 1.58), bead-blasted anodized aluminum, powder-coated steel, and backlit capacitive touch displays.
Clay & Low-Res Lighting Sign-Off (Day 3)
Before committing GPU render farm hours to 4K finals, we send you interactive camera framing and lighting proofs. Need the camera tilted 5 degrees lower to look more heroic? Want the LED indicator glowing cyan instead of amber? We adjust it in minutes.
32-Bit EXR Path-Tracing & Commercial Color Grading (Day 4–5)
We render multi-pass 32-bit OpenEXR files (separating specular, refraction, cryptomatte IDs, and shadow passes) at 4000×4000px+. You receive Amazon-ready pure white (RGB 255,255,255) hero renders, transparent PNGs with separate contact shadows, and fully staged architectural lifestyle environments.
The Pre-Manufacturing Launch Playbook: Selling 8–12 Weeks Early
Having photorealistic 3D product renders before your factory finishes tooling isn't just a cosmetic nice-to-have—it fundamentally changes the cash-flow physics of launching a physical product. Here is how our most successful clients deploy pre-production 3D product visualization across four high-leverage commercial channels:
1. Kickstarter, Indiegogo & Direct-to-Consumer Pre-Orders
Modern crowdfunding platforms and DTC shoppers are ruthless. If your campaign page shows grainy photos of a hand-sanded, spray-painted SLA prototype held together with hot glue, backers assume your team is amateur—and conversion craters. Conversely, if you show un-styled CAD screenshots, backers assume the product is vaporware (and Kickstarter's trust & safety rules specifically penalize crude CAD renders that don't represent final production appearance).
With photorealistic CGI built directly from your final DFM assembly, you can show your hardware sitting on a sunlit Scandinavian kitchen island, out on a teak recovery patio deck, or mounted inside a modern home gym—complete with realistic water condensation, steam, or glowing OLED interfaces—allowing you to collect six figures in pre-order deposits while your molds are still being cut.
2. A/B Testing Colorways (CMFP) Before Ordering MOQ Inventory
Suppose your factory requires a 1,500-unit Minimum Order Quantity (MOQ) per housing color, and your team is debating between Matte Obsidian Black, Brushed Titanium, Sage Green, and Desert Sand. Ordering physical paint-drawdown samples takes three weeks and still doesn't tell you what consumers will actually click and buy.
Once we build your master 3D scene ($490 for a Full 7-Image Kit), rendering additional color or material variants costs far less ($35–$75 per variant). You can run Meta and Instagram split-test ads with four photorealistic colorways over a weekend, measure exact Cost-Per-Click (CPC) and add-to-cart intent, and only commit factory tooling capital to the top two winning colors.
3. B2B Retail Buyer Line Reviews & Distributor Pitch Decks
Big-box retail category buyers operate on 6-to-9-month seasonal buying calendars. If you want shelf placement for Q4 holiday retail, you have to pitch buyers in Q1 or Q2—long before mass production begins. Presenting a B2B buyer with 4K studio renders, retail packaging box mockups, and dimensional specification callouts gives you the visual authority of a Fortune 500 hardware brand on day one.
4. Packaging Box Art, Instruction Manuals & Amazon FBA Readiness
Think about the chicken-and-egg problem of physical product photography: How do you print a photo of your product on the outside of your retail packaging box when the retail box has to be printed at the factory BEFORE the product finishes assembly? With CAD-to-CGI rendering, we deliver ultra-high-resolution 300 DPI TIFF renders with alpha channels so your packaging designer can finalize your outer carton dielines, user manuals, and Amazon A+ Content modules weeks before container shipment.
What If You Don't Have CAD Files? (From 2D Blueprints & Sketches to Precision 3D)
A question I hear every week is: "Ferdaus, our factory in China or Vietnam holds the native SolidWorks files and won't release the .STEP assembly, or we only have 2D engineering blueprints and a rough physical sample. Can you still render our product?"
Yes—and we do it daily. Roughly 40% of the products in our 42-project portfolio did not start with a client-supplied CAD file. Our hard-surface 3D modeling specialists reconstruct precision, millimeter-accurate 3D models using any combination of the following inputs:
- 2D Orthographic Engineering Drawings (PDF / DWG / DXF): Using front, side, top, and cross-sectional views with millimeter callouts, we reconstruct the exact geometry inside our 3D subdivision modeling suite.
- Smartphone Reference Photos + Caliper Measurements: If you have an early benchtop prototype or an existing product line without digital CAD archives, simply snap 6–8 smartphone photos (front, back, 3/4 angle, top, and close-ups of ports/logos) along with overall height, width, and diameter measurements.
- Industrial Design Concept Sketches + Vector Dielines: For custom bottles, refillable dispensers, and lifestyle hardware, we combine your 2D silhouette drawings with your Adobe Illustrator (
.AI/.PDF) label artwork to build a production-grade 3D master asset.
Real 3diz Studio Case Studies: Hardware, Appliances & Pre-Launch CGI
Theory is only useful if you can see the pixel-level execution. Below are four real commercial projects from our studio demonstrating how we handle large wellness hardware, industrial mechanical enclosures, complex borosilicate glass/metal assemblies, and sustainable home systems.
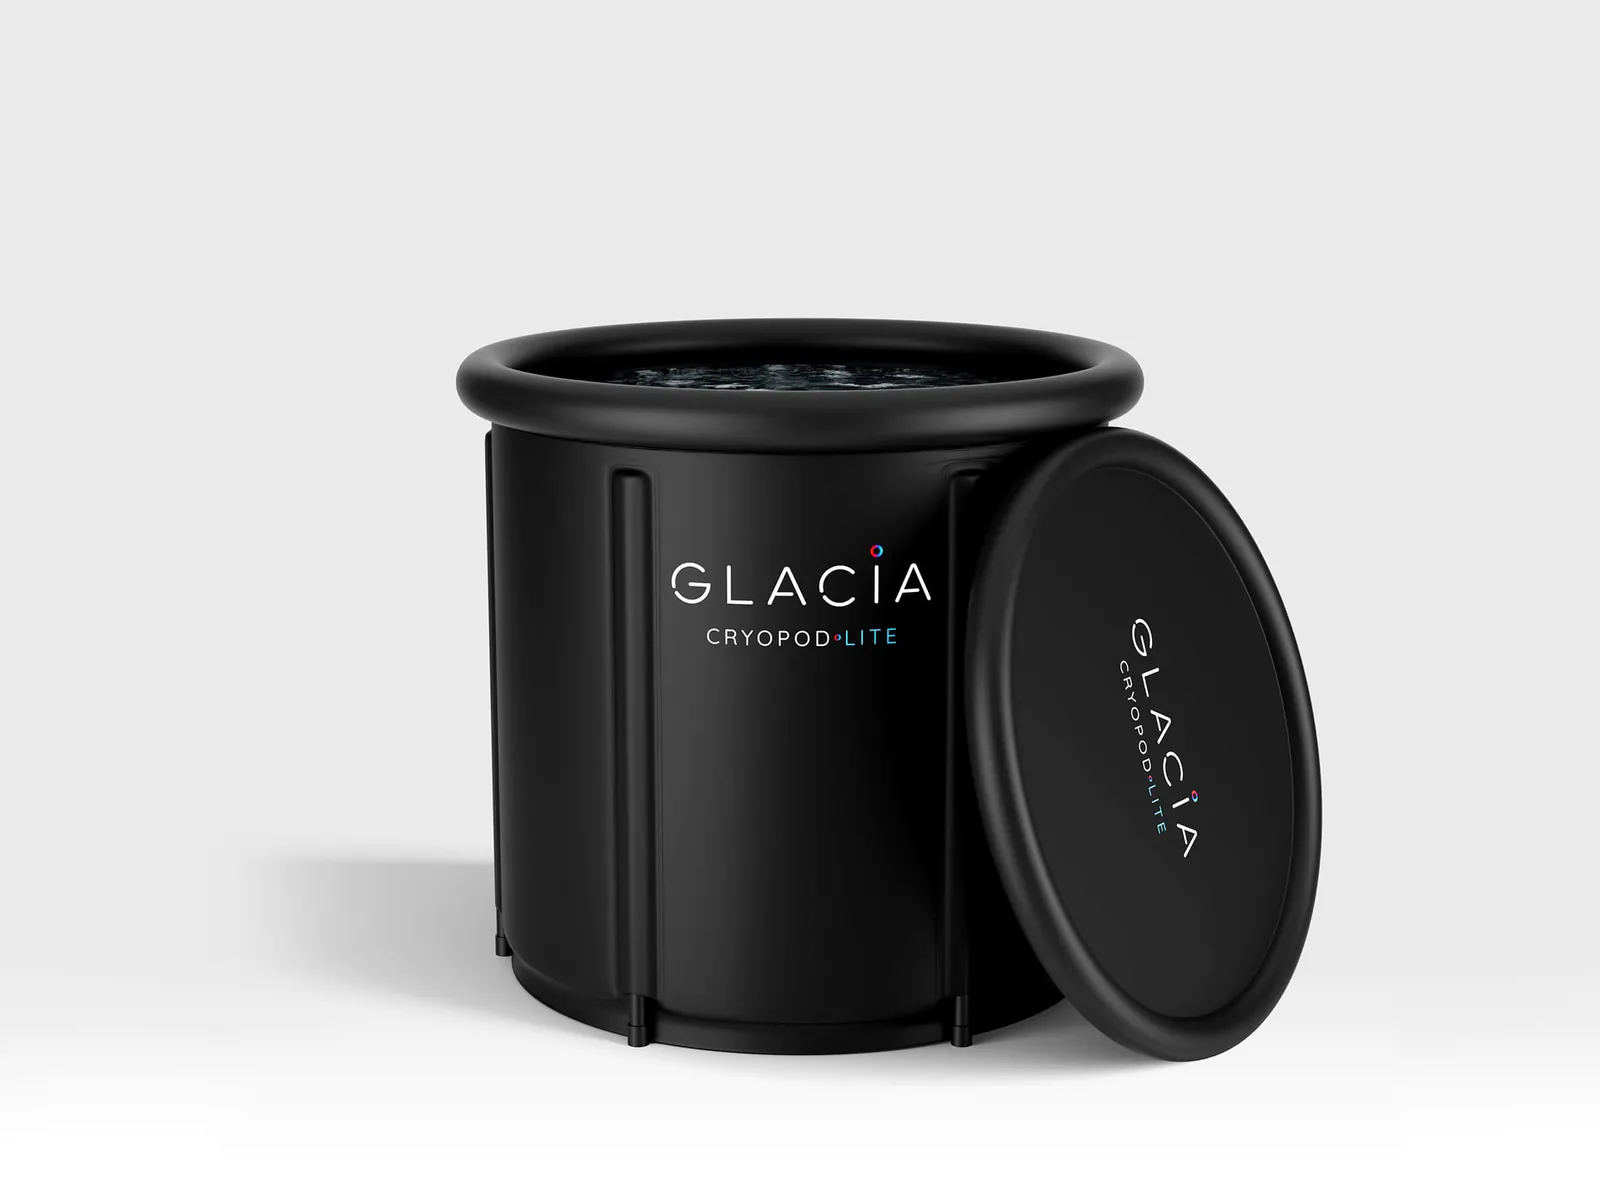
1. Glacia Cryopod Lite Ice Bath
The Engineering Challenge: Large-scale insulated recovery tubs are a nightmare to photograph in a physical studio—drop-stitch PVC walls wrinkle under hot studio strobes, and filling a tub with 300 liters of water and ice creates messy floor reflections. Starting from structural dimensions and branding assets, we modeled the reinforced thermal walls, subtle seam welding, matte valve hardware, and realistic chilled water meniscus—delivering crisp studio hero renders, dimensional infographics, and outdoor patio lifestyle scenes.
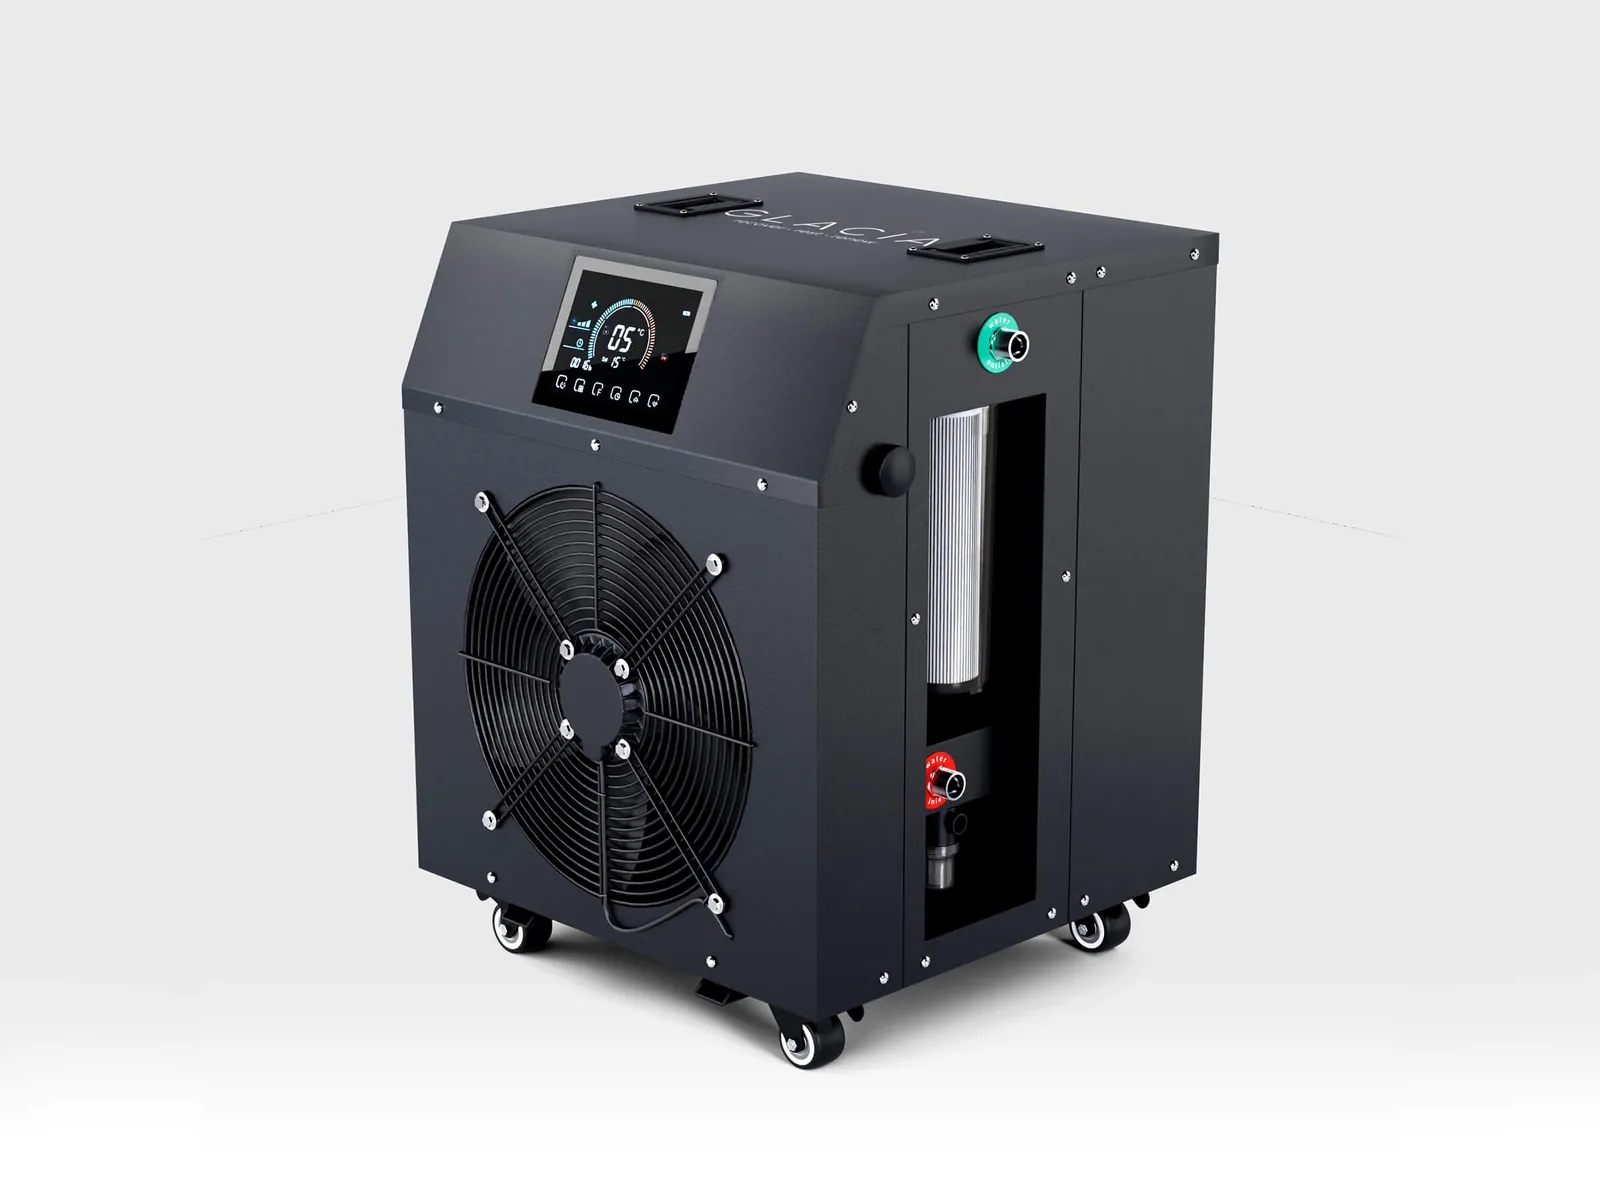
2. Glacia Water Chiller Unit
The Engineering Challenge: High-performance water chillers combine powder-coated sheet metal enclosures, CNC-milled brass quick-connect hose fittings, recessed louver vents, heavy-duty caster wheels, and backlit digital thermostat displays. By applying micro-bevel shaders to every sheet-metal bend and directional anisotropy to the metallic couplings, we transformed an industrial machine into a sleek, high-ticket consumer wellness appliance.
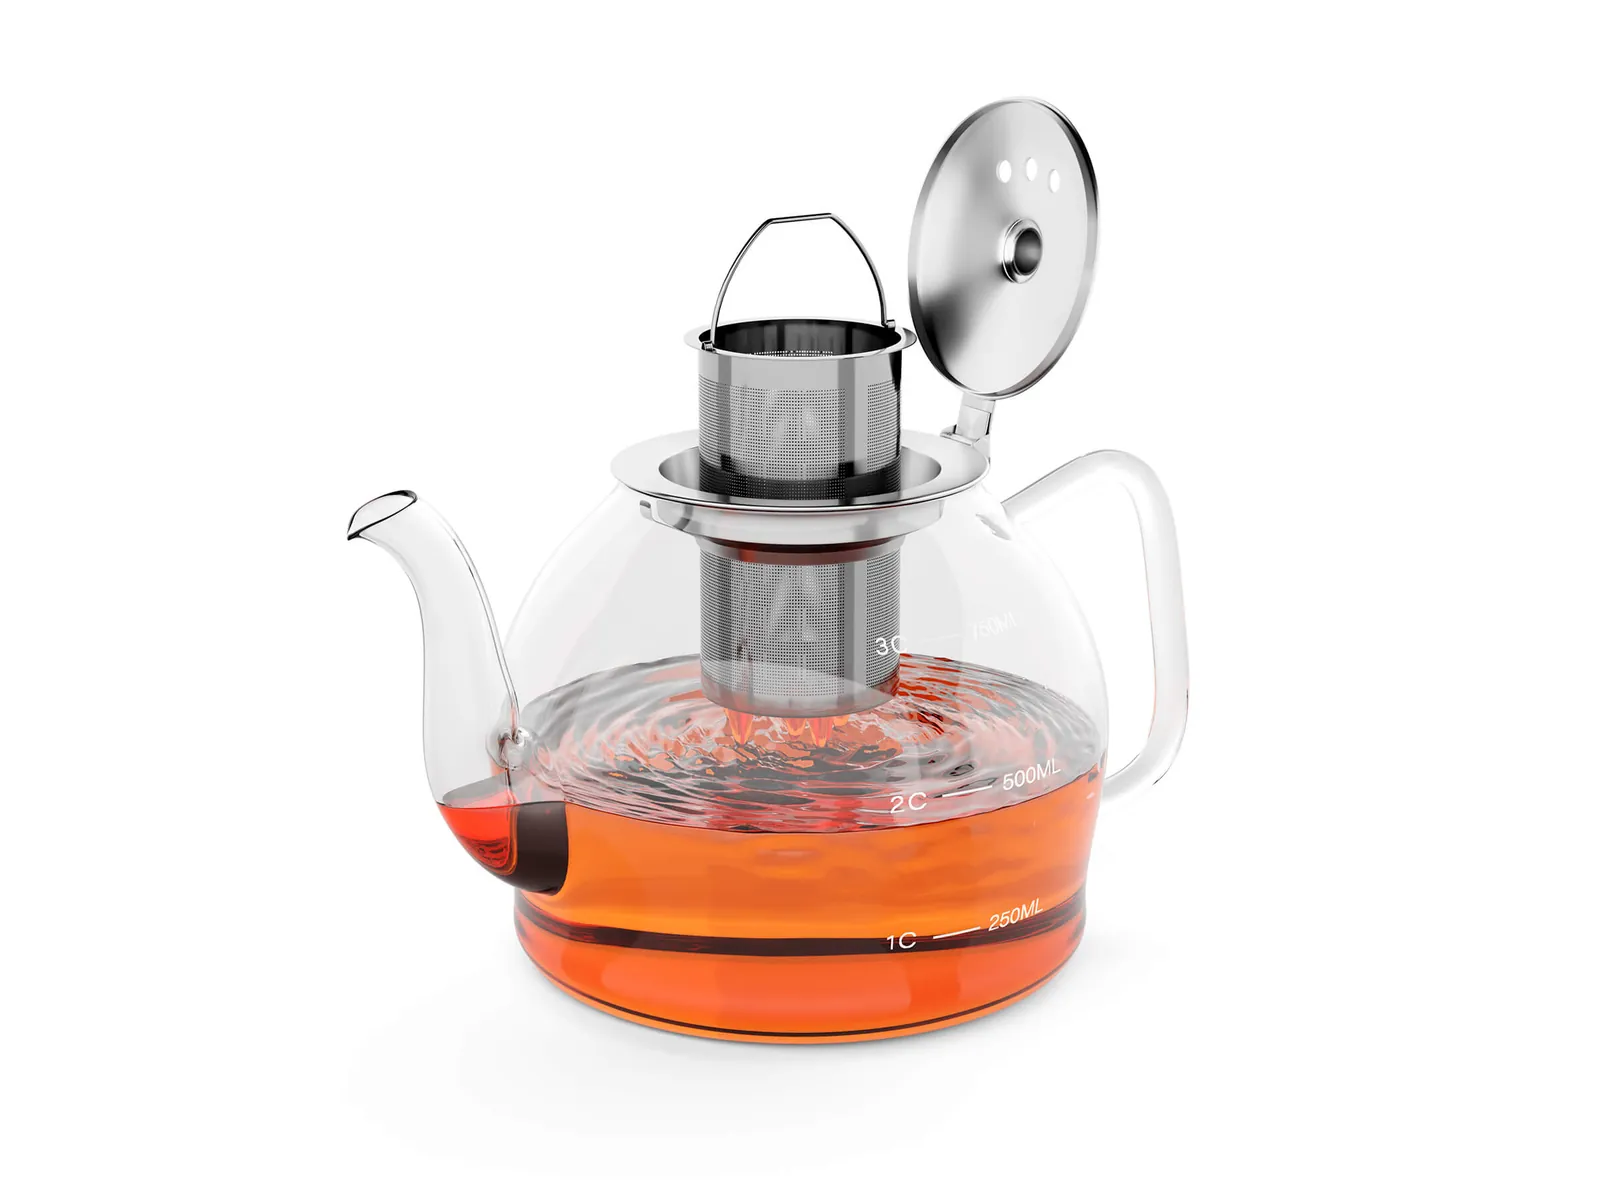
3. Glass Teapot with Stainless Infuser
The Engineering Challenge: Combining curved borosilicate glass (IOR 1.47) with a laser-perforated 304 stainless steel micro-mesh infuser basket and warm amber tea liquid requires extreme ray-tracing bounce depth. In traditional photography, studio softboxes reflect ugly white rectangles across the glass spout, and the internal steel filter disappears into dark shadows. Our 12-render CGI suite delivered crystal-clear refraction, macro filter callouts, and warm kitchen counter lifestyle scenes.

4. Soyeco Refillable Cleaning Set
The Engineering Challenge: Launching a multi-component ergonomic trigger-sprayer bottle alongside concentrate refill tablets and custom retail boxes requires cohesive material storytelling. We modeled the custom ergonomic trigger assembly, internal dip tube refraction, matte soft-touch silicone base sleeve, and fizzing tablet visuals—producing a complete 7-image Amazon and Shopify launch gallery before mass inventory landed.
Technical CAD-to-CGI File Format Compatibility Matrix
Not sure which file format to ask your mechanical engineer or industrial design agency to export? Share the compatibility table below with your engineering team before uploading your files to 3diz Studio:
| File Format / Extension | Geometry Type | 3diz Studio Rating | Export Notes & Best Use Case |
|---|---|---|---|
| .STEP / .STP (AP203 / AP214 / AP242) |
NURBS Solid Assembly | ★ Gold Standard | Preserves exact mathematical curvature, full part hierarchy, and assembly sub-components. Export as STEP AP214 or AP242 so part color/material IDs remain separated. |
| .IGES / .IGS | NURBS Surface Patches | ★ Excellent | Ideal for complex Class-A industrial surfacing exported from Rhino, Alias, or Creo. Allows custom sub-millimeter tessellation without polygon faceting. |
| .SLDPRT / .SLDASM (SolidWorks Native) |
Parametric Feature Tree | ★ Excellent | If sending an assembly (.SLDASM), use SolidWorks "Pack and Go" into a single ZIP archive so all linked sub-parts (.SLDPRT) and decals are included. |
| .F3D / .IAM / .IPT (Fusion 360 / Inventor) |
Parametric B-Rep / T-Splines | ★ Excellent | Export directly from Fusion 360 as a .F3D archive file or .STEP. Retains clean component grouping for exploded animations. |
| .OBJ / .FBX / .STL | Pre-Tessellated Polygon Mesh | Good (With High Density) | Because polygons are already baked, export at "Fine / High Resolution" chord tolerance. Avoid coarse 3D-printing .STL settings, or we will retopologize curved surfaces manually. |
| 2D Drawings + Photos (.PDF / .DWG / .AI / .JPG) |
Orthographic Blueprints & Reference | Full Custom Build | No 3D CAD? No problem. Provide front/side/top dimensions + smartphone photos + vector label PDFs, and our modeling team builds a native quad-mesh 3D master asset. |
Frequently Asked Questions: CAD to Photorealistic 3D Rendering
Here are direct, technical answers to the five questions hardware engineers, industrial designers, and eCommerce founders ask us most before kicking off a pre-launch rendering project:

Ferdaus Wahid
Founder & Lead CGI Director at 3diz Studio
Ferdaus Wahid is the Founder and Lead 3D CGI Director at 3diz Studio, where he has directed over 42 commercial 3D product rendering projects and 368+ photorealistic visuals across consumer electronics, wellness recovery hardware, cosmetics, and kitchen appliances. He specializes in NURBS-to-CGI pipeline architecture, physically based shader calibration, and high-converting visual systems for Amazon FBA and DTC hardware launches.